Blog

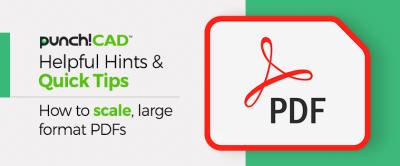
Helpful Hints and Tips To scale, large format PDFs
January 25, 2024| Posted in SharkCAD Pro, ViaCAD| 2202
ViaCAD and SharkCAD are very powerful design tools and its pretty easy to print your designs to your printer on an 8x11 page.
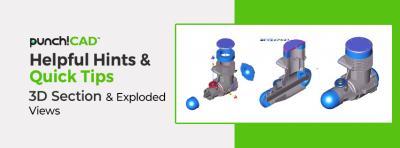
Helpful Hints & Quick Tips 3D Section & Exploded Views
March 20, 2023| Posted in SharkCAD Pro, ViaCAD| 5456
Companion views, such as the section and Exploded views you see here can be very helpful in visually describing the details of an assembly.
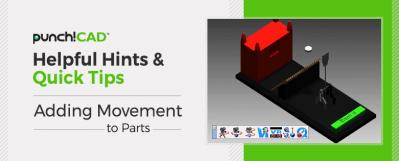
Helpful Hints & Quick Tips Animation Part 1: Adding movement to parts
September 1, 2022| Posted in SharkCAD Pro, ViaCAD| 8348
Using the Animation tools in ViaCAD® & SharkCAD®
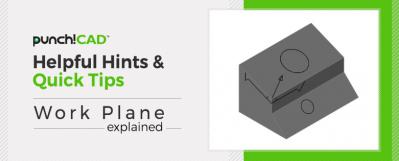
Helpful Hints & Quick Tips Work Plane
August 18, 2022| Posted in SharkCAD Pro, ViaCAD| 5236
Using WorkPlane pull down menu ViaCAD® & SharkCAD®
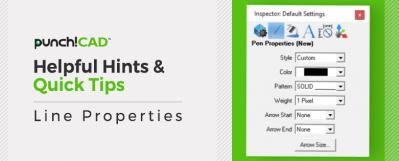
Helpful Hints & Quick Tips Line Properties
August 10, 2022| Posted in SharkCAD Pro| 2548
Assigning different line properties to your line work is a valuable feature in ViaCAD®

Getting Started With ViaCAD--Training Videos
September 26, 2017

Helpful Hints and Tips To scale, large format PDFs
January 25, 2024

Helpful Hints & Quick Tips 3D Section & Exploded Views
March 20, 2023

Helpful Hints & Quick Tips Animation Part 1: Adding movement to parts
September 1, 2022